Measuring on Site: Tools, Technique and Honesty
Lesson 46 of 60 · 8 min read
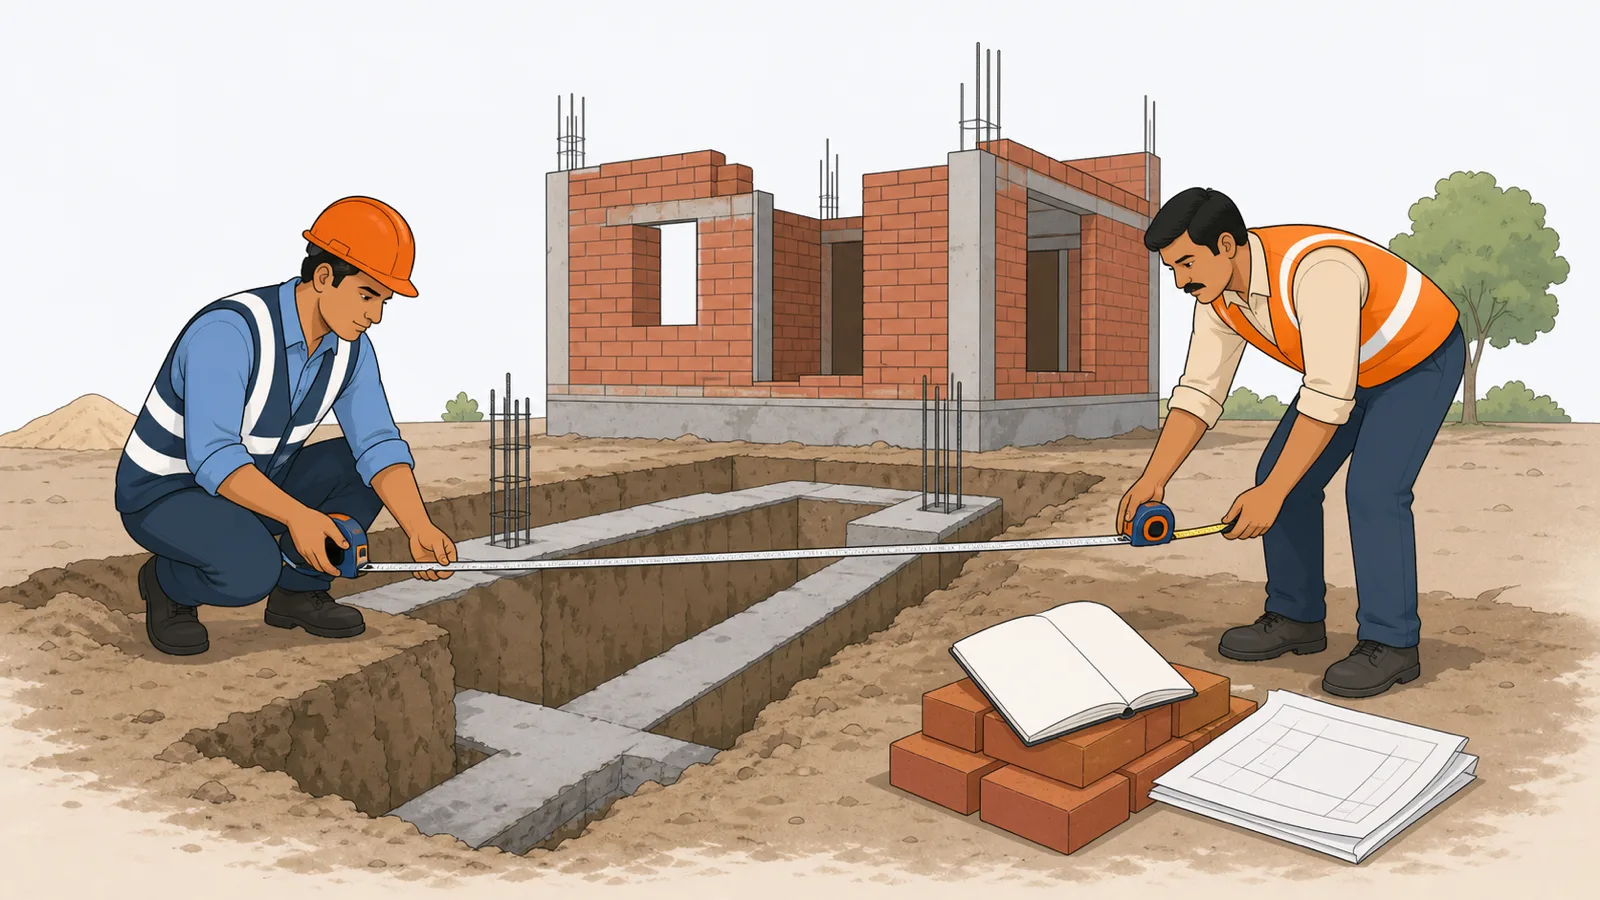
Two bills for the same excavation. The contractor's RA bill claims 79.38 m3. Your joint measurement certifies 58.32 m3. On this one small item the gap is worth Rs. 5,265 — and the same looseness, repeated across excavation, concrete, plaster and flooring for a whole project, routinely adds up to lakhs. Most billing disputes are not about rates. They are about quantities, and quantities are decided by how someone held a tape six months earlier. This lesson is about holding the tape properly.
The measurement kit and its failure modes
You do not need expensive instruments to measure a residential project defensibly. You need a small kit and the knowledge of how each tool lies to you:
| Tool | Use | How it lies |
|---|---|---|
| 5 m pocket steel tape | Room dimensions, thicknesses, offsets | Bent or kinked blade reads long; worn hook end reads short |
| 30 m steel tape | Trenches, plot lines, long walls | Sag over long spans reads long — keep it taut and straight |
| Laser distance meter | Room diagonals, heights, quick checks | Reads to the wrong surface (a shelf, a prop) if you do not sight the dot |
| Plumb bob and dori (string line) | Verticality, straight reference lines | Wind sways the bob; check twice |
| Spirit level / tube (water) level | Levels, plaster dots, sill and lintel heights | A dropped spirit level goes out of calibration — verify by flipping it 180 degrees |
| Straightedge (2 m aluminium) | Surface flatness of plaster, flooring | Only as good as its own straightness — sight along it periodically |
Avoid cloth or fibre tapes for anything you will bill — they stretch with use and moisture. A stretched 30 m tape that reads 1 percent short under-measures every trench on the site by 1 percent, in someone's favour.
Six rules of defensible measurement
- Measure finished work, in place. Bill what exists, not what was ordered, planned, or delivered. Material delivered to site is stock, not work done.
- Measure jointly and sign the same day. You, the contractor's representative, same tape, same time. A measurement one party took alone is an opinion; a signed joint measurement is evidence. Enter it in the Measurement Book (MB) or joint measurement sheet immediately — figures on loose chits and phone photos get "reconstructed" later.
- Keep a fixed dimension order. Always length x breadth x depth/height, in metres, in the same sequence as the MB columns. Mixed-up orders are how a 0.23 wall becomes a 0.32 wall on paper.
- Round consistently. IS 1200 prescribes measurement conventions and rounding rules per trade — in common practice dimensions are recorded to the nearest 0.01 m and cubic contents worked to 0.01 m3. Check the IS 1200 part for your item and follow one convention for the whole project.
- Measure to the payment line, not to the work. More on this below — it is where most excavation and concrete disputes are born.
- Record deductions honestly. Openings, ducts, and voids above the deduction thresholds of IS 1200 come out of the quantity. Skipping deductions inflates your own bill today and destroys your credibility in reconciliation tomorrow.
The payment line: measure what the drawing pays for
For excavation, PCC, and concrete against earth, the contract pays for the drawing dimensions — the payment line — not for whatever got dug or poured. If the drawing shows a footing pit 1.8 m x 1.8 m at the base and the excavator swung wide and dug 2.1 m x 2.1 m, the extra 0.3 m is the contractor's account, not the client's. The same logic applies in reverse to concrete: if shuttering bulged and the beam consumed extra concrete, the payable quantity is still the drawing size. Working space and side slopes are payable only where the contract or the relevant IS 1200 part explicitly authorises them — never assume.
Worked example: 12 footing pits
A G+1 residence has 12 isolated footings. Drawing: pit size 1.8 m x 1.8 m, depth 1.5 m below ground level. The excavation subcontractor dug an average of 2.1 m x 2.1 m (the machine operator wanted working room) and billed the dug volume.
Step 1 — payable quantity (payment line):
| Item | Calculation | Result |
|---|---|---|
| Volume per pit | 1.8 x 1.8 x 1.5 | 4.86 m3 |
| 12 pits | 4.86 x 12 | 58.32 m3 |
Step 2 — claimed quantity (as dug):
| Item | Calculation | Result |
|---|---|---|
| Volume per pit | 2.1 x 2.1 x 1.5 | 6.615 m3 |
| 12 pits | 6.615 x 12 | 79.38 m3 |
Step 3 — the gap: 79.38 − 58.32 = 21.06 m3. At an indicative machine-excavation rate of Rs. 250 per m3, that is Rs. 5,265 claimed for soil the drawing never asked anyone to remove. And the damage does not stop there: the extra 0.3 m around every footing must now be backfilled — and backfill under and around structures needs compacted approved material, which costs again.
If the contract does allow working space (some specifications allow a defined allowance beyond the footing face for deep pits), then it is payable — but only the authorised allowance, measured from the payment line stated in the contract, not "whatever was dug." One more regional wrinkle: in many states, excavated earth carted off site attracts royalty or disposal charges, and surplus excavation means surplus disposal cost too — a second bill for the same mistake.
The unit trap: m3, cft and brass
Drawings and IS codes speak SI, but Indian site trade often bills in cft (cubic feet), sqft, and — in Maharashtra and nearby markets — brass (1 brass = 100 cft = 2.83 m3 for volume, or 100 sqft for area). Our 21.06 m3 gap is 744 cft, roughly 7.4 brass; at Rs. 250 per m3 the same rate is about Rs. 710 per brass. Two rules keep conversions from eating your bill:
- Convert before you compare. A tractor-trolley of sand quoted "Rs. 4,000 per trip" means nothing until you know the trolley holds 90 or 110 cft — insist on a per-cft or per-m3 rate. Handy factors: 1 m = 3.281 ft, 1 m2 = 10.764 sqft, 1 m3 = 35.31 cft.
- Fix the billing unit in writing per item. Excavation per m3 or per brass, plaster per sqft or per m2 — either is workable, but the MB, the rate, and the bill must use the same unit. Most "calculation mistakes" in thekedar bills are silent unit switches.
Who is measuring whom
Measurement dynamics differ by who stands on each side of the tape. An owner or self-builder facing a thekedar (labour contractor) is usually billed in sqft of plaster, brickwork and shuttering — the thekedar measures generously and rounds up; without your own joint measurement you are negotiating from memory. A RERA-registered developer faces the opposite pressure: the RERA era runs on documentation — carpet-area definitions, quality obligations and defect liability all resolve on records, so a PMC or client QS will refuse any quantity that lacks a signed measurement. Either way the lesson is identical: in today's market, the party with the better-kept MB wins the argument, whether the argument is with a thekedar over 200 sqft of plaster or with an allottee's lawyer over carpet area.
Measure before it disappears
Construction covers its own tracks. Excavation vanishes under PCC. Rebar vanishes under concrete. Waterproofing vanishes under screed. The single most expensive measurement habit is waiting: once an item is covered, there is no evidence, and the argument defaults to whoever shouts better.
Build the habit into the work sequence: no PCC until the pit is measured, no pour until the steel is recorded, no screed until the waterproofing area is signed. This is exactly what pour cards and inspection requests formalise — the next lesson.
Honesty cuts both ways
Measurement honesty is not only about catching the contractor's over-claim. It also means:
- Record what is actually there when it is less than the drawing. If the PCC went in at 65 mm against a 75 mm drawing, the MB records the shortfall and the decision (accept with deduction, or redo) — you do not quietly bill 75.
- Never back-calculate. Writing measurements that reproduce the theoretical BOQ quantity without going to site is fabrication. It feels harmless until a third-party audit measures one room.
- Do not weaponise rounding. Rounding every dimension in your own favour is a slow-motion fraud that both sides can play. Fixed conventions exist so nobody plays it.
A QS whose measurements are trusted gets bills certified faster. That reputation is worth more than any single inflated item.
Common mistakes
- Measuring alone and expecting the other side to accept it later.
- Billing from delivery challans ("60 bags cement gaya, to itna kaam hua hoga") instead of measured work.
- Accepting the excavator's dug dimensions as the payable quantity.
- Recording measurements on loose paper "to enter in the MB later."
- Not carrying the drawing to the measurement — the payment line lives on the drawing, not in memory.
- Skipping deductions for openings and ducts because "it roughly cancels out." It does not, and IS 1200 says when to deduct.
What comes next
Clean measurement tells you how much work exists. The next lesson adds the second half of billing armour: pour cards and inspection checklists that prove the work was checked and approved — so nobody can cut your bill for want of a quality record.
Key takeaways
- Bill measured, finished work in place — never deliveries, orders, or theoretical quantities.
- Measure jointly with the contractor's representative and sign the MB or joint measurement sheet the same day.
- Pay to the drawing's payment line: extra excavation or bulged concrete beyond drawing dimensions is not payable.
- Measure every item before the next activity covers it — covered work has no evidence.
- Follow one rounding and dimension-order convention for the whole project, per IS 1200 practice.
- Honest measurement includes recording shortfalls against the drawing, not just catching over-claims.
Verify on site
- Carry the current drawing to every measurement — confirm the payment-line dimensions before recording.
- Check the tape: no kinks, hook end intact, and verify a 1 m mark against a steel rule monthly.
- Measure excavation pits jointly before PCC is poured, and record L x B x D per pit.
- Enter measurements in the MB or joint measurement sheet on the spot and take both signatures.
- Record deductions for openings and voids per IS 1200 thresholds at the time of measurement.
- Photograph each measured stage with the tape in frame and the date visible.
Check your understanding
4 questions. Answering them marks this lesson complete — results stay on your device.
Want the free certificate?
The whole course is free and open — no signup needed to learn. Enter your details only if you want us to track your progress on this device and issue a named certificate after the final assessment.